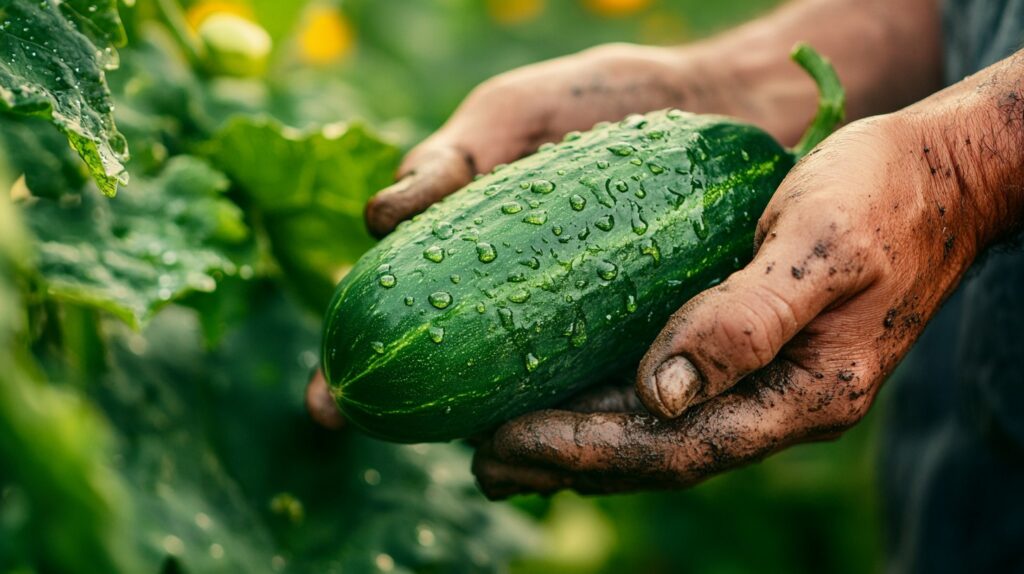
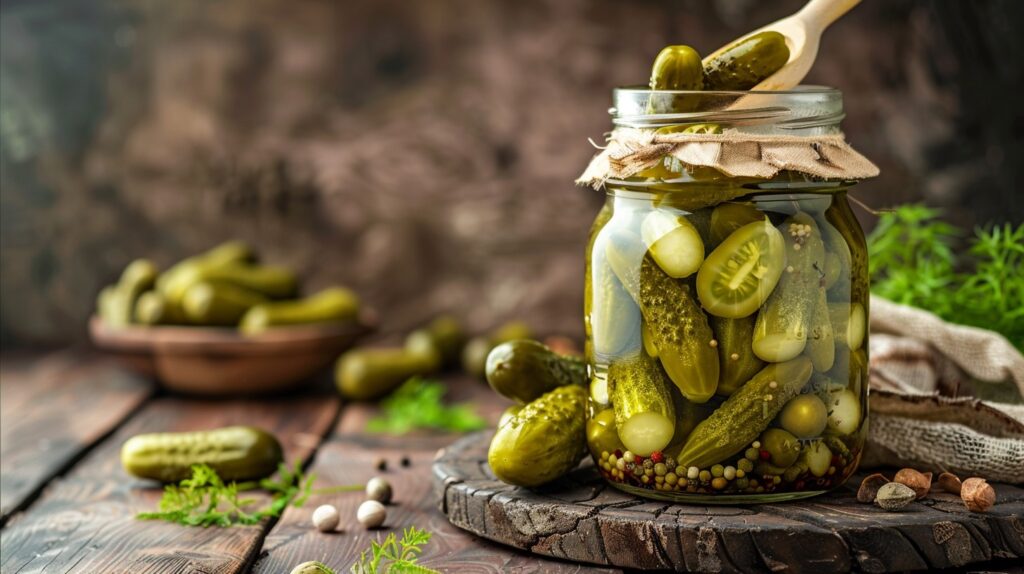
Ever thought about making pickles at home? If not, it’s time to give it a try! Making your own pickles is not only incredibly easy but also immensely satisfying. Imagine turning fresh cucumbers from your garden or local market into crisp, tangy pickles right in your own kitchen.
The best part? You don’t need any special equipment or fancy ingredients. With just a few basic items and simple steps, you can create pickles that are bursting with flavor and free from preservatives.
In this guide, I’ll walk you through each step of the pickling process, from selecting your cucumbers to savoring your homemade pickles. So, grab those cucumbers, and let’s dive into the fun of pickling!

Step 1: Gather Your Ingredients and Tools
Alright, let’s kick things off by gathering everything you need. The great thing about making pickles is that you probably have most of the ingredients and tools already at home.
Here’s what you’ll need:
- Fresh cucumbers – The star of the show! Grab some from your garden or local market.
- Fresh dill – This adds that classic pickle flavor. Fresh is best, but dried can work in a pinch.
- Garlic cloves – A few cloves will give your pickles a nice, savory kick.
- Black peppercorns – For a bit of spice and depth.
- Kosher salt – This is essential for brining. It’s coarse and free of additives.
- White vinegar – The base of your brine. If you’re feeling adventurous, try apple cider vinegar for a different taste.
- Water – To dilute the vinegar and create the brine.
- Optional: A hot pepper – If you like a bit of heat, toss one in.
As for tools, nothing fancy required:
- Cutting board and knife – For prepping the cucumbers and garlic.
- A clean glass jar with a lid – This is where the magic happens. Make sure it’s sterile to keep your pickles fresh and crisp.
That’s it! No need for any specialized equipment. If you’ve got a kitchen, you’re good to go.

Step 2: Prepare the Cucumbers for Pickling
Next up, it’s time to prep those cucumbers. Start by giving them a good wash under cold water. If they’re fresh from the garden, you might notice some prickles on the skin – just rub those off gently.
Now, let’s talk about cutting. You’ve got a couple of options here. Want those classic pickle spears? Cut the cucumbers lengthwise into quarters. If you prefer slices (perfect for burgers and sandwiches), slice them into rounds. The thickness is up to you – thicker slices mean crunchier pickles, while thinner ones absorb the brine faster.
Got some larger cucumbers? Don’t worry. Just trim off the ends and cut them to fit your jar. And if you’re feeling creative, try cutting them into fun shapes – crinkle-cut, coins, or even small cubes. This is your pickle adventure, so don’t be afraid to experiment!
Step 3: Layer the Flavors in the Jar
Now comes the fun part – layering the flavors. Start with the basics: toss a few black peppercorns into the bottom of your jar, followed by a good pinch of kosher salt. This lays the foundation for a tasty brine.
Next, add your garlic cloves. You can smash them slightly to release more flavor or leave them whole if you like a milder garlic taste. Follow that with a few sprigs of fresh dill – just stuff them right in there.
If you’re using a hot pepper, now’s the time to add it. For a gentle heat, slice it in half and remove the seeds. If you’re a heat lover, go ahead and add it whole. You can always adjust the amount based on your heat tolerance.
As you layer, think of it as building a flavor pyramid. You’re stacking all these wonderful, aromatic ingredients that will infuse the cucumbers as they pickle. Keep it casual and relaxed, like you’re chatting with a friend in the kitchen – because really, you are!

Step 4: Add the Liquid Mixture
Now it’s time to mix up that brine! The ratio here is key, but don’t worry – it’s simpler than it sounds. Start by filling your jar about one-third to halfway with white vinegar. This is where the tangy magic happens. If you’re feeling adventurous, swap out some or all of the white vinegar with apple cider vinegar for a slightly sweeter, fruitier twist.
Next, top off the jar with water. The vinegar-to-water ratio is what makes the brine just right – strong enough to pickle, but not so overpowering that it takes over the cucumber’s flavor.
Here’s an important step: boil the water before adding it to your jar. Why? Boiling helps dissolve the salt and any other spices you’ve added, ensuring they mix evenly. Plus, the hot water kick-starts the pickling process, helping the cucumbers absorb all those delicious flavors.
I know, boiling water might seem like an extra hassle, but trust me, it’s worth it. Once you’ve poured the hot brine over your cucumbers, you’re almost there!
Step 5: Seal the Jar and Let the Pickles Develop
With your brine poured in, it’s time to seal the deal – literally. Take your jar’s lid and screw it on. The trick here is not to over tighten it. You want a firm seal, but you don’t need to crank it down with all your strength.
Once the lid’s on, here’s a little trick: flip the jar upside down. This helps the brine distribute evenly and ensures a good seal. Just be careful – make sure that lid is on securely before you do this!
Now, patience comes into play. Technically, your pickles will start tasting pretty great in just a few hours, but if you can, resist the urge to dive in right away. Letting them sit overnight, or even for a full day, will give the flavors more time to meld together. The longer you wait, the better they’ll taste.
Step 6: Enjoy Your Homemade Pickles
The moment of truth has arrived – it’s time to taste your homemade pickles! After they’ve had some time to develop, pop open that jar and take a bite. You’ll notice a fresh, tangy flavor that’s perfectly balanced by the garlic, dill, and peppercorns.
These pickles are great for snacking right out of the jar, or you can add them to sandwiches, burgers, or salads. They’re a quick way to elevate almost any dish with a burst of flavor.
And here’s a little secret: I wasn’t always a fan of cucumbers, but pickling changed everything for me. The transformation from a simple cucumber to a crunchy, flavorful pickle is one of the small joys of home cooking. Who knew something so easy could be so satisfying?
Tips and Variations
Ready to take your pickling game to the next level? Here are some tips and fun variations to try.
First off, don’t be afraid to mix up your spices. Add a pinch of mustard seeds, coriander, or even a dash of turmeric to create your own unique flavor profile. You can also experiment with different types of vinegar – rice vinegar for a milder taste or malt vinegar for a richer, more robust flavor.
And why stop at cucumbers? The pickling process works wonders on other veggies too. Try it with carrots, radishes, or even green beans. Just remember, different veggies might need slightly different pickling times, so adjust as needed.
For storing your pickles, keep them in the fridge. They’ll stay fresh for up to a few weeks. If you’re making a larger batch and want to store them for longer, consider canning them using proper techniques to extend their shelf life.
Conclusion: Get Creative and Start Pickling
Now that you’ve got the basics down, it’s time to get creative! Pickling is not just about making delicious snacks; it’s about experimenting and finding what flavors you love. Mix and match spices, try different veggies, and don’t be afraid to make mistakes along the way.
Making pickles at home is incredibly easy and a fun way to enjoy fresh produce. Plus, it’s a great way to add a personal touch to your kitchen creations. So, dive in, experiment with your recipes, and share your pickling adventures with friends and family. Happy pickling!

