Hey there, fellow dreamers! Have you ever wished you could capture a little bit of magic and whimsy right in your backyard? Well, you’re in luck because building a fairy house is the perfect way to do just that. It’s an activity that lets your creativity shine and brings a touch of enchantment into your life. And the best part? You can do it all with the wonderful natural materials you can find just outside your door.
In today’s busy world, finding a peaceful and creative outlet is a treasure in itself. Crafting a fairy house allows you to step away from the hustle and bustle, giving you a chance to reconnect with nature and unleash your inner artist. It’s an experience that’s not only satisfying but also incredibly rewarding as you watch your miniature creation come to life.
In this guide, I’m going to show you how to create your very own fairy house using natural materials. We’ll cover everything from gathering the right supplies to adding those final magical touches that will make your fairy house truly special. Whether you’re crafting solo or looking for a fun activity to enjoy with your kids, this project is sure to captivate your imagination.
So, grab a cup of tea, relax, and let’s dive into this enchanting adventure together! With a little creativity and a dash of whimsy, you’ll soon have a charming fairy abode nestled in your garden, waiting to welcome its tiny residents. Let’s get started on this magical journey and transform the ordinary into something extraordinary!
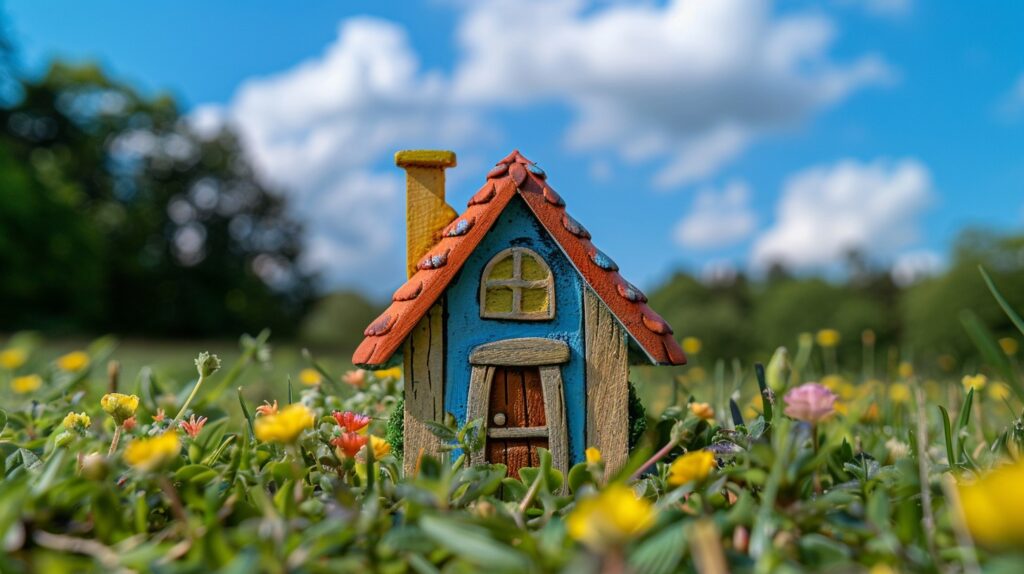
Why Build a Fairy House?
Before we dive into crafting your fairy house, let’s talk about why this is such a delightful project. Fairy houses aren’t just tiny structures; they are gateways to imagination and creativity.
Whether you’re working solo or with your kids, building a fairy house is a fantastic way to unleash your inner artist and enjoy some quality time with nature.
Spark Creativity
Think of building a fairy house as a canvas for your imagination. The beauty of this project lies in the endless possibilities. You can design a whimsical castle, a rustic cabin, or a tiny teapot house—the choice is yours! You’ll find yourself envisioning little fairy residents and crafting the perfect home for them. This creative exercise is not only fun but also incredibly rewarding as you watch your ideas come to life.
Connect with Nature
One of the most magical aspects of creating a fairy house is the opportunity to connect with nature. You’ll find yourself exploring your surroundings, gathering materials like twigs, leaves, and stones. It’s a chance to see the world around you in a new light, discovering the beauty in everyday items. This connection to nature can be both grounding and inspiring, reminding you of the simple pleasures and treasures found just outside your door.
Unwind and Relax
In a world filled with constant hustle and bustle, building a fairy house is a perfect way to unwind. It’s a peaceful, therapeutic activity that allows you to escape from daily stresses. As you construct your miniature masterpiece, you’ll find a sense of calm and joy in the simplicity of the process. Plus, once your fairy house is complete, the sight of it nestled in your garden is sure to bring a smile to your face, offering a daily reminder of the magic you’ve created.
Ready to get started? Let’s gather our materials and embark on this enchanting journey together!
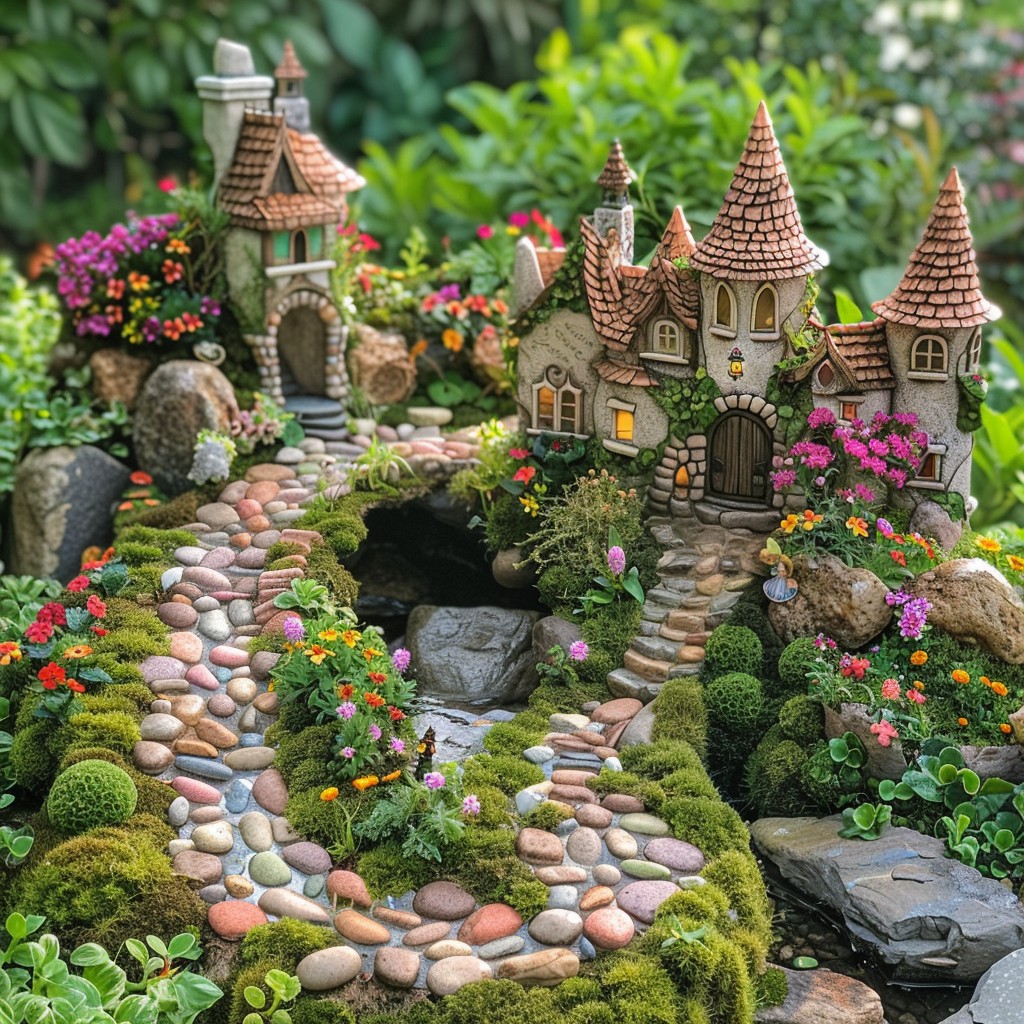
Materials You’ll Need: Gathering Nature’s Treasures
The first step in creating your fairy house is gathering all the materials you’ll need. The beauty of this project is that you can use almost anything from nature. Here’s a list of some natural materials that work wonderfully for a fairy house:
Twigs and Sticks
Twigs and sticks are the backbone of your fairy house. They provide the framework and structure for walls, roofs, and fences. Look for a variety of sizes and shapes to give your house a natural and organic feel.
Leaves
Leaves make fantastic roofing material or decorative accents. Use large leaves for shingles or weave them together to create a charming roof. You can also use smaller leaves to add detail and texture to the walls or pathways.
Pebbles and Small Stones
These little gems are perfect for creating pathways, foundations, and even fairy furniture. Gather a mix of colors and sizes to add character and depth to your design.
Pinecones
Pinecones are incredibly versatile. Use them as roofs, chimneys, or simply as a decorative element. Their unique shape adds an interesting texture to your fairy house, making it look cozy and inviting.
Bark
Bark is excellent for creating rustic walls or adding texture to your design. It’s sturdy, easy to work with, and brings a woodland charm to your fairy abode.
Acorns and Nutshells
Acorns and nutshells are ideal for adding whimsical accents. Use them as tiny bowls, decorations, or even tiny seats for the fairies. Their natural beauty adds a touch of enchantment.
Flowers
Flowers bring a splash of color and magic to your fairy house. Use them as accents, window boxes, or even as part of the landscape around your house. Choose blooms that are bright and cheerful to enhance the fairy tale vibe.
Feel free to get creative and use whatever you find around your garden or local park. The best part? Every fairy house will be unique, just like the natural materials you use!
Ready to start gathering these treasures?
Let’s move on to the next step and see how you can transform these simple materials into a magical fairy home.
Step-by-Step Guide to Building Your Fairy House
Crafting a fairy house with natural materials is an enchanting way to invite whimsy and wonder into your outdoor space. This DIY project lets you harness the magic of nature while channeling your inner artist. Here’s a detailed guide to creating your very own fairy haven.
Step 1: Planning Your Fairy House
Before you start assembling, take a moment to plan your fairy house. This first step sets the foundation for everything else, so a little planning can go a long way.
Location
Where will your fairy house live? Think about placing it in a spot where it can blend beautifully with nature, whether that’s at the base of a tree, tucked into a garden nook, or nestled inside a decorative planter on your patio. The location should be inviting and natural, giving your fairy friends a sense of belonging.
Design
Sketch out a simple plan of what you want your fairy house to look like. Consider if you want a cozy cottage that feels warm and inviting, or a grand castle with a touch of regal flair. Your design doesn’t have to be detailed; a rough idea will guide you as you build.
Tip: Remember, fairy houses are meant to be whimsical and fun, so don’t worry about perfection. Embrace the quirks and charm of natural imperfections.
Step 2: Building the Foundation
Every great fairy house needs a sturdy foundation to stand the test of time. Here’s how to build one:
Begin with a Sturdy Base
Select a flat rock, a piece of wood, or even the ground itself as the foundation. This base will provide the necessary support and stability for the structure you’re about to create.
Arrange Stones
Place small pebbles or flat stones in a circular or rectangular shape to outline the foundation. This stone arrangement sets the boundary for your fairy house, ensuring it has a defined shape and area.
Stabilize with Dirt
Use some soil or mud to fill gaps and stabilize the foundation, ensuring everything is secure. This extra step helps anchor the stones and provides a more solid base.
Pro Tip: If you’re building on soil, dig a small trench and set the stones partially into the ground for added stability. This approach gives your fairy house a grounded feel, almost as if it grew naturally from the earth.
Step 3: Constructing the Walls
Now comes the exciting part: building the walls! This step is where your fairy house starts taking shape.
Choose Your Twigs
Select straight twigs of similar lengths for uniform walls. These twigs will form the framework of your fairy house, so look for ones that are sturdy yet flexible.
Create a Frame
Begin by forming a basic frame with the twigs. Stick them upright into the soil if you’re building directly on the ground, or glue them onto your foundation if you’re using a flat surface. This frame acts as the skeleton of your fairy house, giving it structure and support.
Fill the Gaps
Use smaller twigs, pieces of bark, or even moss to fill the gaps and create solid walls. This is where you can get creative and personalize your fairy house with textures and materials that speak to you.
Tip: To make things easier, you can use a natural adhesive like pine sap or regular glue for securing the twigs together. This adds extra stability and ensures your fairy house is ready for all weather conditions.
Step 4: Designing the Roof
The roof is an important element, giving your fairy house its character. It’s not just about function but about adding a distinctive flair to your creation.
Leaf Roof
Overlap large leaves, such as ferns or banana leaves, to create a natural shingled effect. This design mimics the look of traditional roofing while providing a protective cover against the elements.
Bark Roof
Lay strips of bark over the top of the house, ensuring they overlap to keep out imaginary rain. Bark offers a rugged, earthy appearance, perfect for fairy houses set deep within wooded areas.
Pinecone Roof
Break apart pinecones and use the scales to mimic traditional roof shingles. Pinecone pieces add a charming, rustic look that’s sure to delight anyone who sees it.
Pro Tip: Secure the roof with twine or small stones to ensure it stays in place, especially if you’re displaying your fairy house outdoors. This keeps everything intact and adds an extra layer of enchantment to your creation.
Step 5: Adding Windows and Doors
Now that the structure is complete, it’s time to make your fairy house inviting and accessible!
Acorn Cap Windows
Use acorn caps as tiny windows, attaching them to the walls with glue. These whimsical windows let in light and give your fairy house a homely touch.
Twig Doors
Arrange twigs vertically or horizontally to form a door, adding small pebbles for a handle. This door design keeps things natural and allows fairies an easy entrance into their new abode.
Bark or Leaf Shutters
Cut small pieces of bark or use stiff leaves to create adorable shutters on your windows. These shutters add charm and character, making your fairy house look even more like a quaint woodland cottage.
Tip: If you want a door that opens, try hinging it with tiny pieces of flexible vine or twine. This little detail adds an interactive element to your fairy house, making it more engaging and lifelike.
Step 6: Decorating Your Fairy House
This is where your creativity can really shine! Think about adding magical details that make your fairy house truly special.
Pebble Pathways
Lay down pebbles to create a charming path leading to the front door. A well-laid pathway adds a sense of invitation and guides your fairy friends to their new home.
Flower Gardens
Use small flowers or succulents to design a fairy garden around the house. This touch of greenery makes your fairy house appear vibrant and alive, reflecting the beauty of the surrounding nature.
Moss Carpet
Spread moss around the base of the house for a soft, inviting look. Moss acts as a natural carpet, adding a touch of lush elegance to your fairy landscape.
Natural Accessories
Add tiny twigs as fences, acorn bowls, or even small shells for a whimsical touch. These accessories make your fairy house feel lived-in and cozy, adding personality and charm.
Pro Tip: For indoor fairy houses, consider adding miniature furniture, fairy figurines, or LED lights to enhance the magical atmosphere. This creates a delightful ambiance that can be enjoyed all year round.
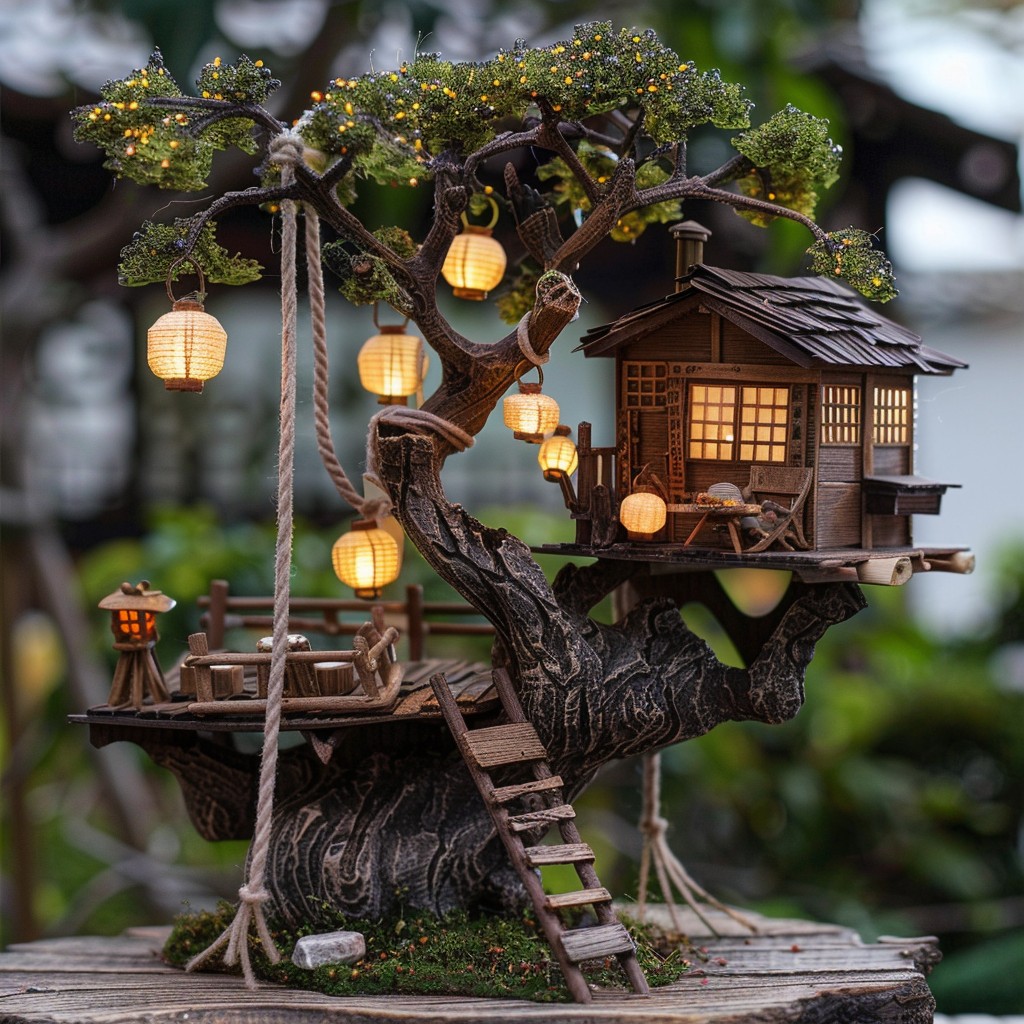
Final Touches: Personalize Your Fairy House
You’ve followed the steps, built the structure, and now your fairy house is nearly complete. But before you call it finished, let’s talk about personalizing your creation. This is where you can let your creativity shine and make your fairy house truly one-of-a-kind.
Add Unique Details
Think about what would make your fairy house even more special. Maybe a tiny swing made from string and bark hanging from a nearby branch, or a little ladder crafted from twigs leaning against the house.
You could even add a miniature mailbox made from acorns or a birdbath using a small shell filled with water. Personalizing your fairy house with these unique details is what makes it truly enchanting and gives it that extra touch of magic.
Create a Story
Consider giving your fairy house a backstory. Is it the home of a wise old fairy who loves reading, or perhaps a young fairy who spends her days tending a magical garden? Adding a narrative element can make the experience even more enjoyable, especially if you’re building with kids.
Pro Tip: Use natural paints to add colors and patterns to your fairy house. This can help accentuate certain features and bring out the whimsy of your design.
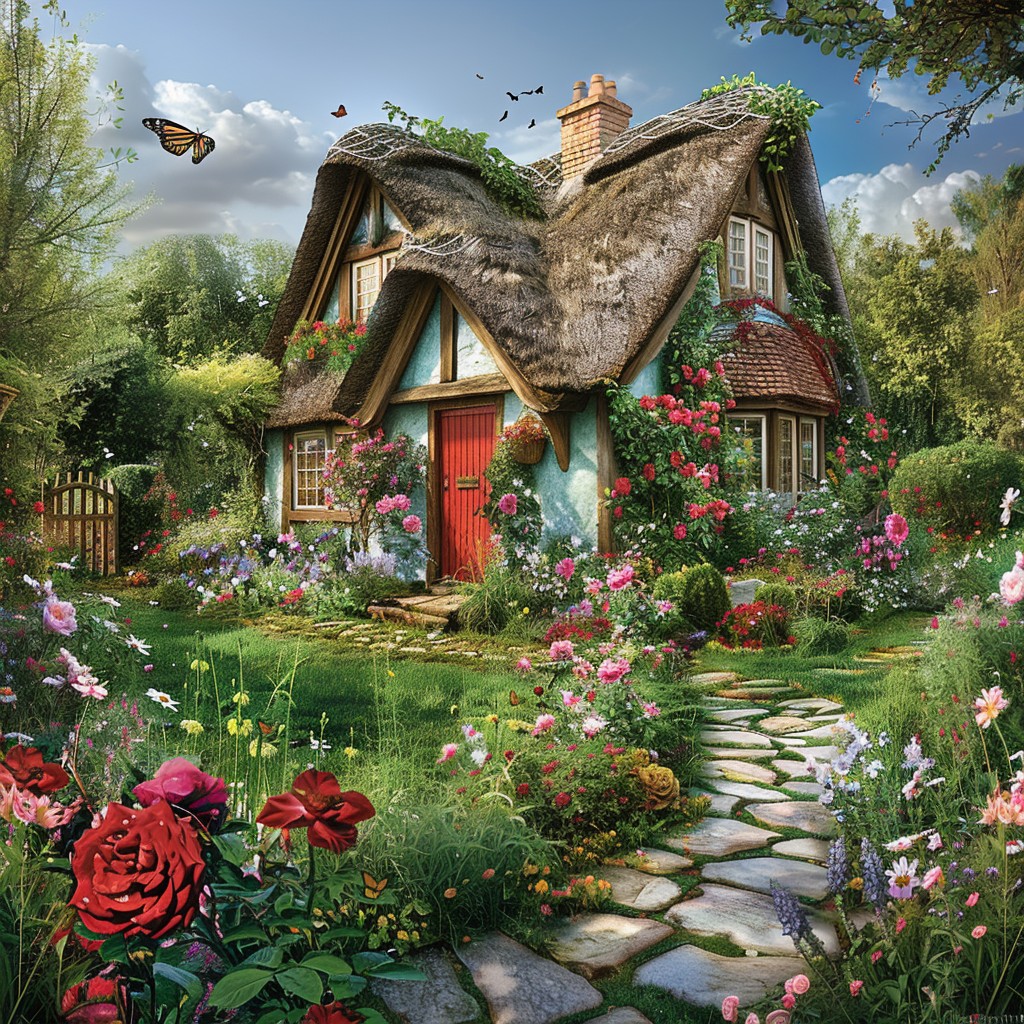
Where to Display Your Fairy House
Now that your fairy house is complete, it’s time to find the perfect spot to showcase your whimsical creation. Here are a few ideas for displaying your fairy house in a way that highlights its charm and invites the fairies to visit:
Garden
Nestle your fairy house among the flowers or at the base of a tree in your garden. This setting provides a natural environment that blends seamlessly with your fairy house, making it look like a hidden treasure waiting to be discovered.
Planters
Place your fairy house inside a large planter with some succulents or ferns. This option allows you to move your creation easily and experiment with different locations, whether indoors or outdoors.
Indoors
Display your fairy house on a windowsill, mantelpiece, or as part of a nature-inspired centerpiece. Indoor settings offer protection from the elements, ensuring your fairy house stays in pristine condition all year round.
Community Spaces
Consider placing your fairy house in a community garden, local park, or library for others to enjoy. Sharing your creation can inspire others and spread the magic of fairy houses throughout your community.
Tip: If you’re placing it outdoors, ensure it’s in a sheltered spot to protect it from harsh weather. A nook under a large tree or a space near a garden shed can provide the perfect balance of exposure and protection.
Conclusion
Building a fairy house is not just about crafting a charming miniature home; it’s about connecting with nature, expressing creativity, and finding joy in the little things. This project allows you to take a break from the hustle and bustle of everyday life and immerse yourself in a world of imagination and wonder.
Whether you’re embarking on this creative journey alone or with loved ones, remember that each fairy house is a reflection of your unique vision and the enchantment you wish to bring to life. From choosing materials to deciding on personal touches, every step is a testament to your creativity and love for nature.
I hope this guide has inspired you to create your own fairy house using natural materials. So go on, gather those twigs and pebbles, and start building your magical masterpiece. And don’t forget to share your creations; I’d love to see the enchanting worlds you bring to life!
Happy crafting, and may your days be filled with fairy magic! 🌿🏡✨
Bonus: Printable Fairy House Materials Checklist
To make your fairy house-building experience even more seamless, here’s a handy checklist you can print and use as you gather materials for your fairy house. Having this list on hand ensures you won’t forget any essential elements during your nature walk.
| Material | Description |
| Twigs | For building the frame and walls |
| Leaves | For roofing and decoration |
| Pebbles | For pathways and foundation |
| Pinecones | For roofs or decoration |
| Bark | For walls or adding texture |
| Acorns and Nutshells | For decorative accents |
| Flowers | For colorful decoration |
| Moss | For soft, natural carpeting |
| Glue or Natural Adhesive | To hold everything together |
| Scissors | To cut materials as needed |
| Twine or String | For securing roofs or adding details |
Print this checklist and take it with you on your nature walk, making sure you gather all the enchanting materials you’ll need for your fairy house project.

