Welcome to the wonderful world of DIY creepy stuffed animals! If you’ve ever felt the urge to transform ordinary plushies into delightfully eerie creations, this guide is for you. It’s time to tap into your inner crafter and unleash your creativity by turning those cute and cuddly toys into something more… sinister.
Have an old stuffed animal that’s gathering dust? Perfect! Instead of tossing it away, why not give it a spine-chilling makeover? The possibilities are endless, and the process is surprisingly fun and rewarding. You’ll soon see how adding some creepy flair to plush toys can turn them into conversation pieces that are sure to catch the eye.
In this guide, we’ll walk you through the steps of transforming standard stuffed animals into eerie, yet enchanting, works of art. Whether you’re a seasoned crafter or just starting out, these DIY ideas are designed to spark your imagination and inspire you to create your own creepy plush companions. We’ll cover everything from basic techniques to advanced crafting tips, ensuring you have everything you need to make your own unique, spine-tingling creations.
Ready to dive into the spooky side of crafting? Let’s get started!
Getting Started: Tools and Materials You’ll Need
Before you dive into creating your spooky stuffed animals, you’ll want to gather all the necessary tools and materials. Whether you’re aiming for something eerie or outright terrifying, having the right supplies at hand is essential for bringing your creepy visions to life.
Stuffed Animals
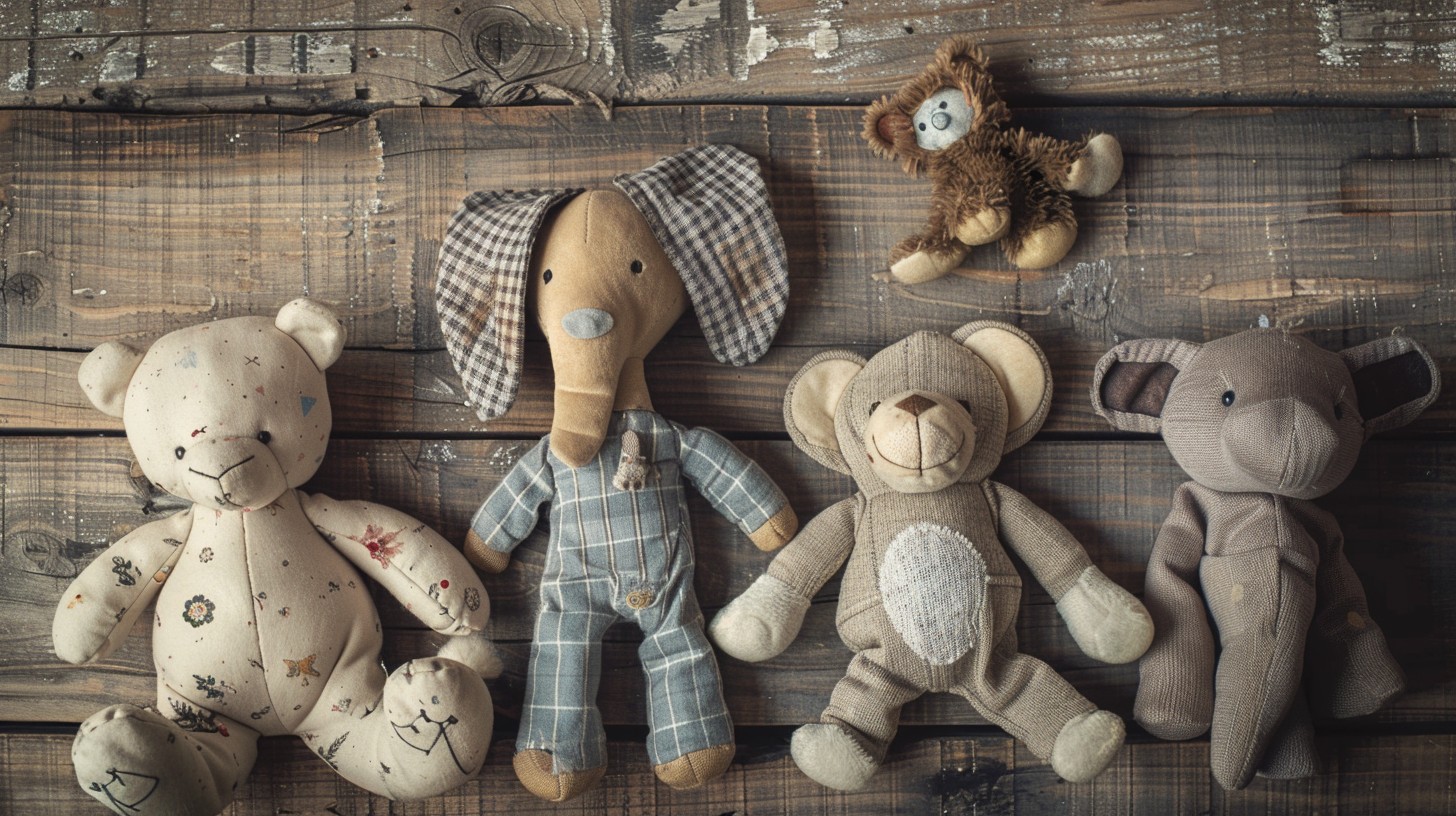
Start by hunting for some old or inexpensive plush toys. Thrift stores and secondhand shops are gold mines for finding stuffed animals that you can transform. Look for toys with unique shapes or features that you can exploit in your design. Don’t worry if they’re a little worn out or dirty—those imperfections can actually enhance the creepy factor of your final creation.
Crafting Supplies
Next, grab some essential crafting supplies. You’ll need scissors, needles, thread, fabric glue, and paint to modify your plushies. These basics will allow you to cut, sew, and paint your stuffed animals into something completely new. Fabric glue is perfect for quick fixes, while thread and needles let you sew on more durable features. Also, consider grabbing some hot glue for attaching heavier or more awkward items.
Decorative Elements
For added creepiness, collect a variety of decorative elements. Safety pins, beads, clay, faux fur, and any other embellishments you fancy can make a significant difference. Think about using clay to mold grotesque shapes, beads for eerie eyes, or safety pins for an edgy, stitched look. Faux fur can be great for adding texture and depth, making your creation more lifelike (or should I say more lifeless?).
Design Inspiration
Finally, arm yourself with some design inspiration. It’s always helpful to have a few creepy design ideas in mind before you start. Look online for inspiration—Pinterest, Instagram, and crafting blogs are full of unique ideas to spark your creativity. Maybe you want to recreate something you’ve seen or mix various elements for a one-of-a-kind creation. Either way, having a clear vision will guide your crafting process and help ensure you’re thrilled with the final product.
Basic Techniques
Now that you have your tools and materials ready, it’s time to learn the foundational techniques for transforming your stuffed animals into spooky works of art. Here are some basic steps to get you started.
Disassembling the Plushie
The first step in your creepy transformation is disassembling the plush toy. Carefully open the seams with scissors or a seam ripper, taking care not to damage the fabric. You’ll want to keep the fabric pieces intact for reassembly later. Removing the stuffing will give you access to the toy’s inside, allowing you to modify its shape and structure. If you want to reshape the plushie entirely, don’t be afraid to take it apart more extensively.
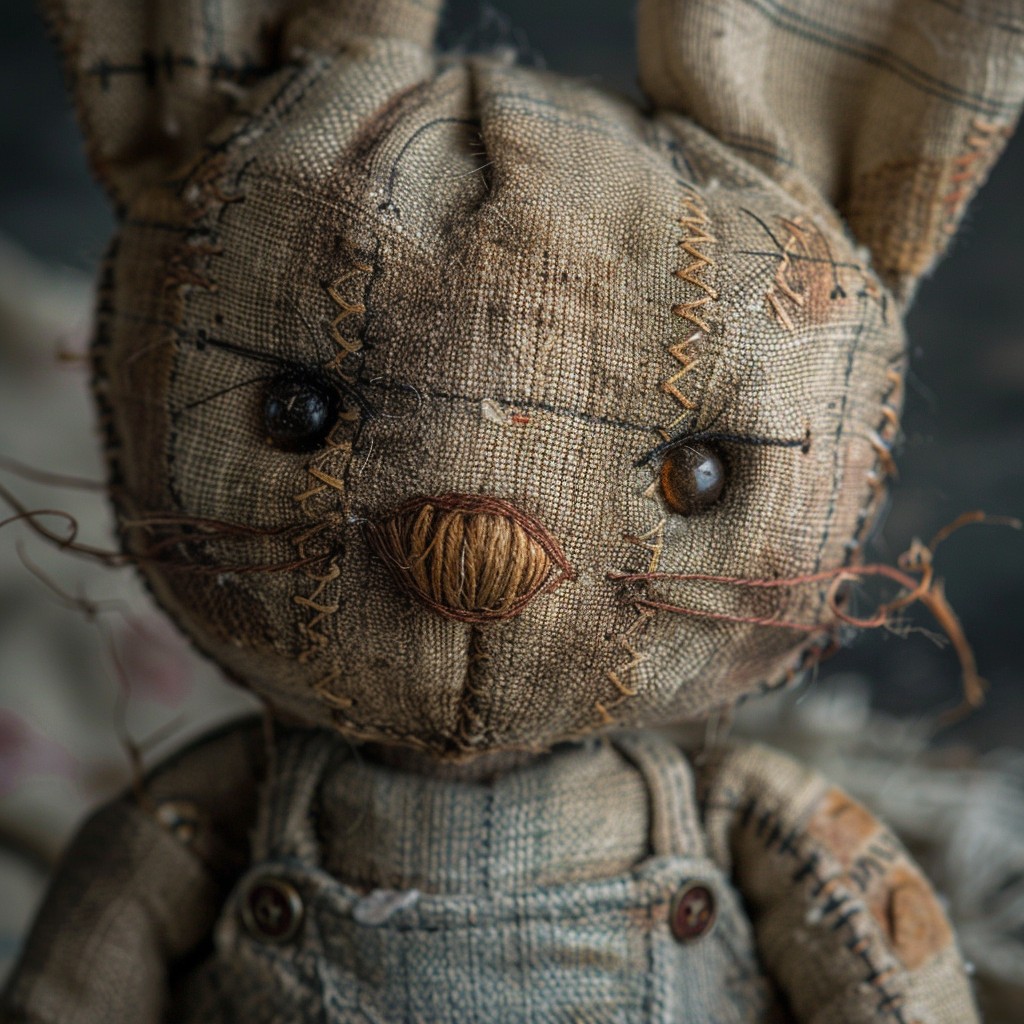
Once your plushie is disassembled, you can start adding those creepy features that will give it a new personality. Sew or glue on extra creepy eyes, jagged fangs, or additional limbs to create a truly unsettling appearance. Experiment with different materials to achieve unique textures and effects. Use clay to craft eyes or teeth, faux fur for grotesque growths, and beads for eerie details. Let your imagination run wild—adding unexpected elements is what will make your plushie stand out.
Reassembly
After you’ve added all the features you want, it’s time to put your plushie back together. Reassemble the toy by sewing or gluing the pieces back in place. Make sure to securely fasten all parts so nothing falls off. Pay attention to the seams and double-check that everything is stitched tight and glued down firmly. The reassembly is your chance to ensure your creation is as durable as it is creepy.
Design Ideas: Creepy Plushie Concepts to Try
Ready to create something truly spine-chilling? Here are some eerie and creative design ideas to get you started on your DIY creepy stuffed animals.
Two-Headed Monsters
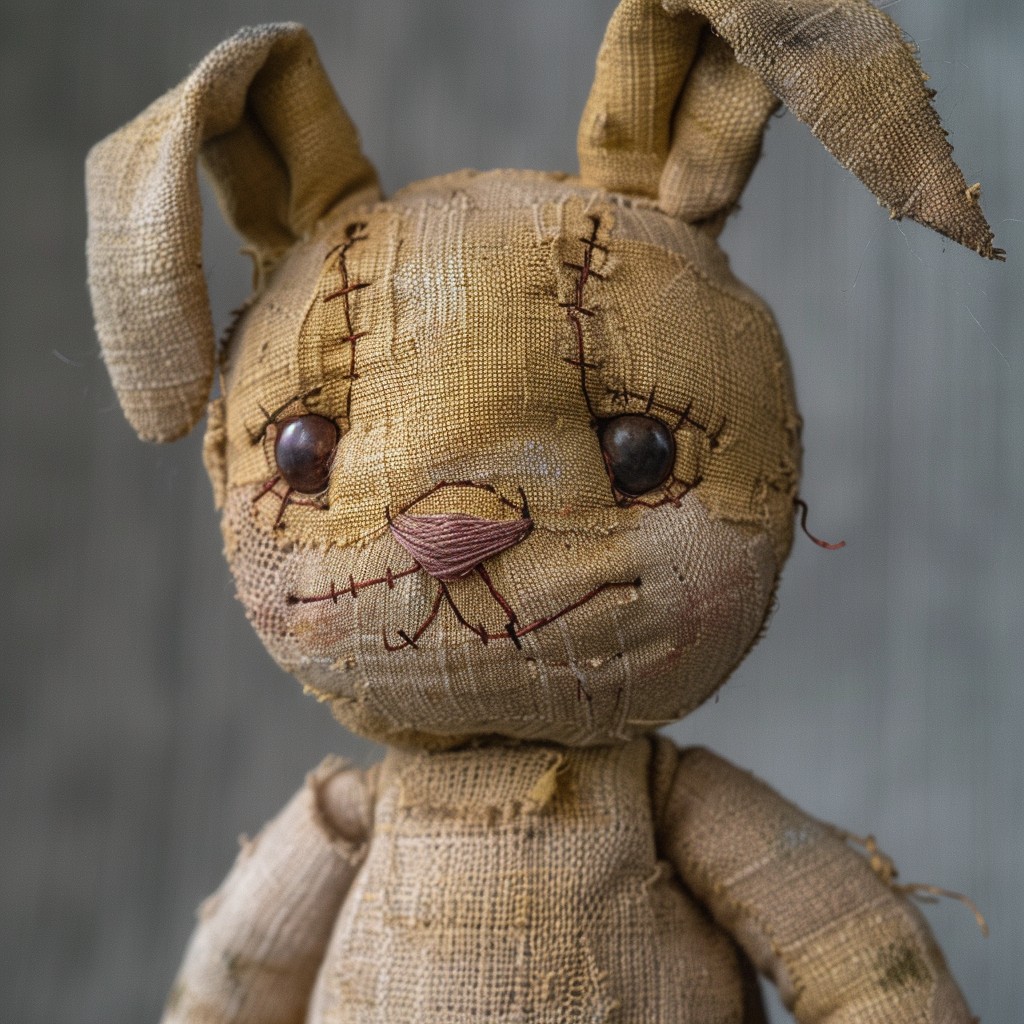
Why settle for one head when your plushie can have two? Create a stuffed animal with two heads, each with its own distinct features. Imagine a bunny split in half with mismatched eyes or differently sized ears. This classic design is not only fun to make but adds an intriguing layer of creepy fun to your collection. Use fabric glue or thread to attach a second head where it seems the most unsettling. Playing with asymmetry is the key here—make each head unique to enhance the horror factor.
Multi-Headed Creatures
Feeling ambitious? Think outside the box and go for three or more heads. Let yourself be inspired by mythical creatures like Cerberus or the Hydra. Incorporate different colors and textures for each head to create a wild, chaotic effect. Each head can have its own personality, complete with unique features like scars, horns, or crazy expressions. Remember, the more heads, the more unsettling your plushie will look.
Creepy Accessories
Want to give your plushie an unsettling edge? Add quirky elements like stitched-up scars, mismatched eyes, or tiny horns. These accessories can be the finishing touch that elevates your creation from ordinary to eerily extraordinary. Use safety pins to add a punk-inspired look, or stitch on some mismatched buttons for eyes that give off a haunted vibe. Faux fur can be used for patches of odd hair growth, and clay can form menacing teeth or claws. Accessories can bring your plushie to life—or perhaps, the opposite!
Clay and Resin Embellishments
Want to add a touch of realism or fantasy to your stuffed animal? Clay and resin are your best friends. Use air-dry clay or epoxy resin to craft detailed features like fangs, horns, or claws. Once you’ve sculpted your pieces, let them dry completely before painting them in eerie colors to enhance the creepiness.
When attaching these elements, it’s crucial to use strong adhesive to ensure they stay in place. Fabric glue works well, but for heavier pieces, consider sewing them on for added security. The key here is to blend these embellishments seamlessly with your plushie, making them appear as if they’ve always been part of the creature.
Mixed Media
Mixing different materials can give your plushie an eclectic and eye-catching look. Combine fabric scraps, beads, and charms to create a unique texture. This approach lets you experiment with various styles and effects, so don’t hold back.
Think about adding faux piercings using safety pins or creating small accessories like necklaces or hats to personalize your creation. Charms and beads can add an element of surprise, giving your stuffed animal a mysterious aura. Imagine a plushie with chains or even tiny sunglasses—anything goes in this world of weird and wonderful.
Custom Paintwork
Fabric paint is a fantastic tool for adding intricate designs or patterns to your plushie. Whether you’re painting on stitches, adding dark circles around the eyes, or drawing abstract patterns, paintwork can elevate your creation to new levels of creepiness.
Start by sketching your design lightly on the fabric using a pencil or chalk, then carefully apply the paint. Be sure to use brushes of various sizes to achieve detailed work, and consider practicing on a spare piece of fabric first. Once the paint is dry, you might want to apply a clear sealant to protect your work and ensure it lasts.
The trick to custom paintwork is personalization. Your plushie should reflect your creative vision, and painting is one of the best ways to make it your own.
Sometimes, seeing finished products can inspire you and give you ideas for your own creepy creations.
Here are a few unique examples to spark your creativity
Jack the Two-Headed Bunny
Meet Jack, a bunny that’s anything but cute and cuddly. This plushie features a mix of tie-dye and solid fabrics to create a contrast between its two heads. One head has mismatched eyes, while the other boasts a black bow and cheek piercings, adding a punk flair. A small clay horn protrudes from one forehead, completing Jack’s unsettling look.
Jack’s dual personality is all about embracing asymmetry, creating a plushie that’s both captivating and disturbing. Perfect for anyone looking to add a touch of whimsical horror to their collection.
Oddity the Hippie Bear
Oddity is a plushie that dances to its own beat. With a tie-dye design reminiscent of the ’60s, this hippie bear sports mismatched eyes—one bright blue and the other a dull red. Clay horns give Oddity an unexpected twist, while quirky accessories like a Hello Kitty band-aid and friendship bracelets tell a story of fun and freedom.
Oddity’s charm lies in its oddness. The mismatched elements and playful accessories create a plushie that’s as unpredictable as it is enchanting. This bear is all about embracing the unusual, reminding us that weird can be wonderful.
Possible Challenges
Even the best DIY projects can run into hiccups, but don’t worry! Here’s how to tackle some common issues you might face while crafting your creepy stuffed animals.
Uneven Sewing
If you find your plushie’s seams are uneven, don’t panic. A seam ripper is your go-to tool for carefully correcting these mistakes. Take your time to remove the stitches and re-sew them with a more even hand. Use a sewing machine for extra precision, or if you’re hand-stitching, mark your fabric with chalk to guide your sewing line. Practice makes perfect, so don’t be afraid to redo sections until you’re happy with the result.
Falling Accessories
Loose embellishments can be a real nuisance, especially if they keep falling off. To fix this, secure any troublesome accessories with extra fabric glue or stitches. Hot glue is a reliable option for heavier items, while fabric glue works for lighter additions. If you’re sewing, ensure you’re using a strong thread and tight stitches to hold everything in place. Remember, durability is key, especially for pieces that might get handled often.
Paint Smudges
Paint smudges can be a frustrating setback, but they’re not the end of the world. If your paint smudges, allow it to dry completely before handling the plushie again. To prevent future smudges, apply a clear fabric sealant once the paint is dry. This will protect your design from accidental smudges and wear over time. It’s also a good idea to paint in layers, letting each one dry thoroughly before adding more detail. This technique ensures a crisp, clean finish that lasts.
With these tips in mind, you’ll be well on your way to creating creepy stuffed animals that are not only unique but also built to last. Embrace the challenges, and enjoy the process—each mistake is a step closer to perfection!
Final Touches: Bringing Your Creepy Plushie to Life
Congratulations! You’ve transformed an ordinary stuffed animal into a creepy masterpiece. But before you call it a day, let’s add some final touches to really bring your creation to life. These small details can make a big difference, giving your plushie a personality and ensuring it stands out.
Personalization
Give your plushie an identity with a name tag or a small label that carries a spooky message. This could be something like “Zombie Ted” or “The Mischievous Monster.” Personalization adds character and lets your plushie tell its own story. You can use a simple piece of fabric and fabric markers to create a tag, or go for a metal charm if you want something more durable and chic.
Adding a tag isn’t just about the name; it’s about adding a backstory or theme to your plushie. Maybe it’s a haunted teddy bear who’s seen better days or a whimsical creature from another dimension. The more you personalize, the more unique and special your creation becomes.
Display Options
Now that your plushie is complete, think about how you’ll display it. Whether it’s perched on a shelf, inside a shadow box, or part of a larger collection, the way you display your creation can enhance its overall impact. Shelves are great for showcasing multiple plushies, while shadow boxes add an element of mystery and protection, especially for intricate designs with delicate features.
Consider lighting, too. Placing your plushie under a small spotlight or within a well-lit display case can accentuate its details and make it the centerpiece of your collection. Whether it’s in your living room, office, or bedroom, let your creepy creation be a conversation starter.
Sharing Your Work
You’ve put in the hard work—now it’s time to share it with the world! Post your creations on social media platforms like Instagram, Pinterest, or dedicated craft forums. Use hashtags like #CreepyPlushie or #DIYStuffedAnimals to connect with others who share your interests. Engaging with a community of crafters can provide valuable feedback and inspire others to start their own projects.
Don’t shy away from sharing your process, either. Before-and-after photos, step-by-step guides, or time-lapse videos can offer insights into your creative journey. By sharing your work, you not only showcase your talent but also contribute to a community of makers who love bringing plushies to life.
Conclusion
Creating DIY creepy stuffed animals is more than just a craft project—it’s an adventure in creativity and self-expression. You’ve learned to repurpose old plush toys and breathe new life into them, turning them into delightfully spooky creations that showcase your unique style and flair.
With these ideas and techniques, you can transform ordinary stuffed animals into extraordinary pieces that stand out in any collection. So gather your supplies, embrace the art of crafting, and let your imagination run wild. Your creepy plushies are a testament to your creativity, and there’s no limit to the eerie wonders you can create.
Happy crafting, and may your plushies be as creepy as they are charming!
